Adding NuGet Package in Spread Windows Forms
The following section explains how to use Spread Windows Forms in a .NET Framework and .NET 5/.NET 6 (or .NET Core 3.1) platform by using GrapeCity.Spread.WinForms NuGet package.
Follow the below steps to create a Windows Forms application in .NET Framework platform:
- Click on 'Create a new project' and select 'Windows Forms App (.NET Framework)'.
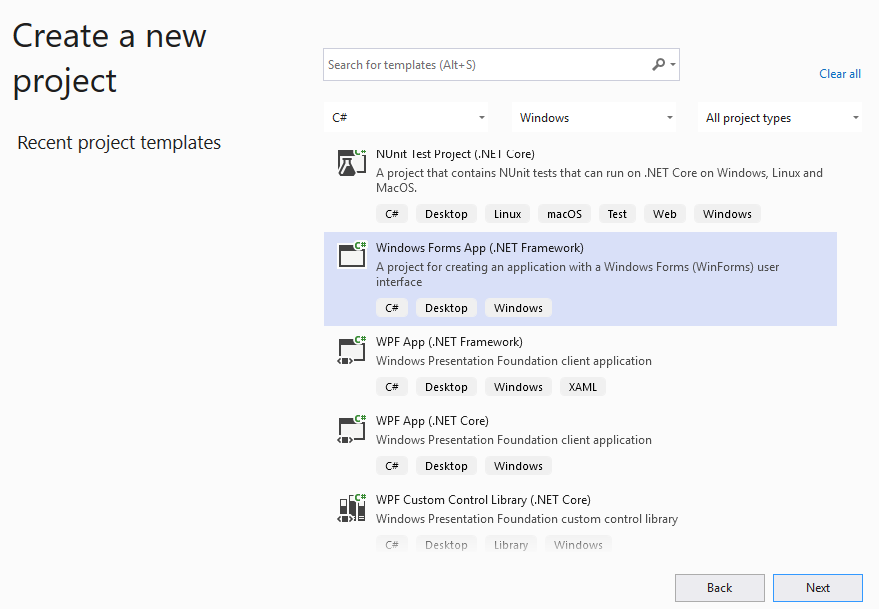
- Name the project and click Create.
- Right click on References and click 'Manage NuGet Packages'.
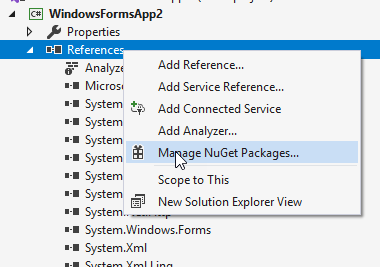
- Search 'Grapecity.Spread' and install GrapeCity.Spread.WinForms NuGet package in your solution.

- Right click Properties and add a new item.

- Add a text file from 'Add new item' dialog and name it as licenses.licx.
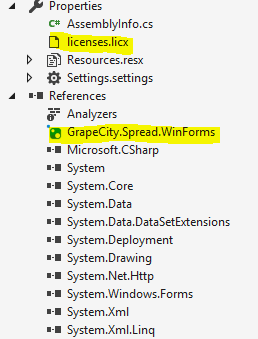
- Add Spread's license string as follows:
FarPoint.Win.Spread.FpSpread, FarPoint.Win.Spread
- Double click on Form1.cs and add the fpSpread control using the following code in its form load event.
Form1.cs Copy CodeFpSpread fpSpread1 = new FpSpread(); fpSpread1.Location = new System.Drawing.Point(52, 12); fpSpread1.Name = "fpSpread1"; fpSpread1.Size = new System.Drawing.Size(653, 380); fpSpread1.Sheets.Count = 2; this.Controls.Add(fpSpread1); fpSpread1.ActiveSheet.Cells[0, 0].Text = "Welcome";
- Build the project and run to view fpSpread control on to the Form.
