本文讲述如何使用C1Schedule控件,简单的开发安排日程用的应用程序,呈现微软Outlook 风格和用户体验的日程表。这个日程安排的解决方案配备了五个内置视图,还有定期约会等功能。
1.拖拽工具箱中的控件到窗体
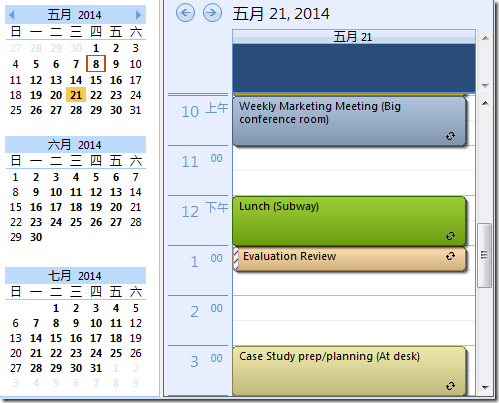
将Visual Studio工具箱中的C1Schedule和C1Calendar控件直接拖放到窗体中,按照常用的左右布局放置,然后运行应用程序,就可以立刻将微软 Outlook 风格和用户体验的日程表呈现在使用者的面前。效果如下图所示:
2.弹出内置约会管理对话框
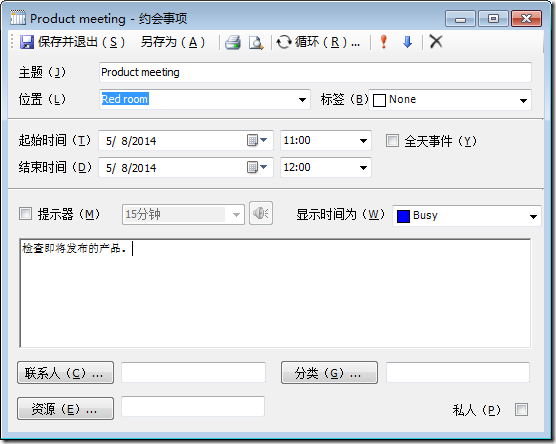
做完第一步后,在运行时,通过在时间段区间内双击鼠标就可以弹出“约会”对话框,或者直接按下Enter键,用户可以很容易地新建约会或对现有约会进行编辑。约会可以是一次性的,也可以在一段时间内多次重复,同时还可以设置提醒以免错过任何约会。
“约会”对话框如下图所示:
3.设置C1Schedule五个内置视图
C1Schedule 控件提供了5个内置的数据视图,只用设置C1Schedule.ViewType属性,就可以按照日、周、工作周、月或时间线视图等各个划分层级来查看日程安排。这个属性的枚举类型如下:
  // 摘要:
    //     Determines the type of view to display in the C1.Win.C1Schedule.C1Schedule
    //     control.
    public enum ScheduleViewEnum
    {
        // 摘要:
        //     Day view.
        DayView = 0,
        //
        // 摘要:
        //     Work week view.
        WorkWeekView = 1,
        //
        // 摘要:
        //     Week view.
        WeekView = 2,
        //
        // 摘要:
        //     Month view.
        MonthView = 3,
        //
        // 摘要:
        //     Time Line view.
        TimeLineView = 4,
    }
给VeiwType设置不同的枚举类型值,就可以得到不同的视图效果。
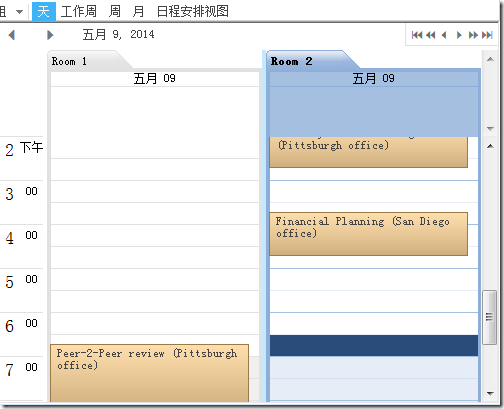
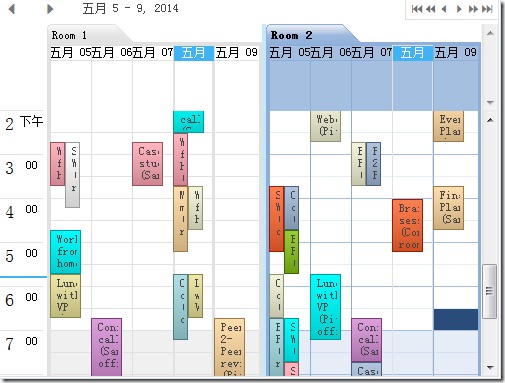
**1.设置日视图:**代码和效果图如下。
// Switch to the DayView.
this.c1Schedule1.ViewType = ScheduleViewEnum.DayView;
2.设置周视图:代码和效果图如下。
// Switch to the WeekView.
this.c1Schedule1.ViewType = ScheduleViewEnum.WeekView;
3.设置工作周视图:代码和效果图如下。
// Switch to the WorkWeekView.
this.c1Schedule1.ViewType = ScheduleViewEnum.WorkWeekView;
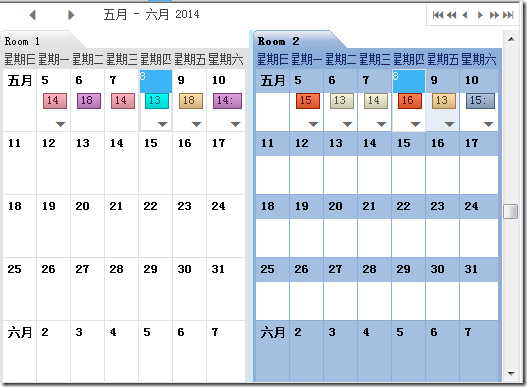
4.设置工作月视图:代码和效果图如下。
// Switch to the MonthView.
this.c1Schedule1.ViewType = ScheduleViewEnum.MonthView;
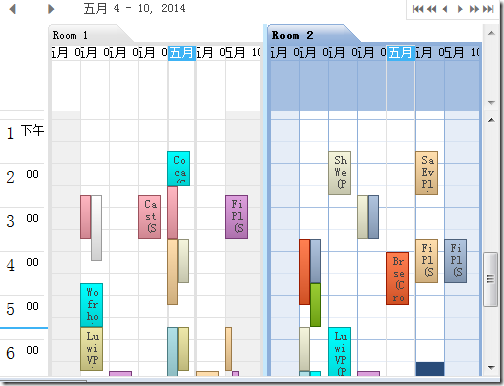
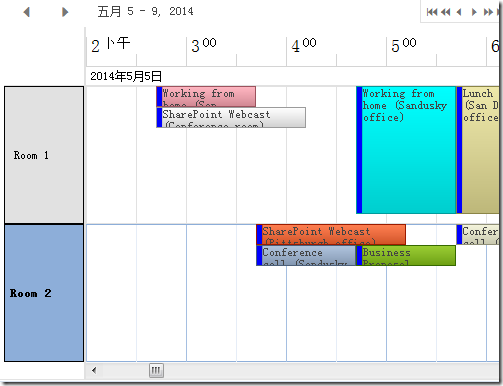
**5.设置时间线视图:**代码和效果图如下。
// Switch to the TimeLineView.
this.c1Schedule1.ViewType = ScheduleViewEnum.TimeLineView;
4.设置C1Calendar和C1Schedule同步
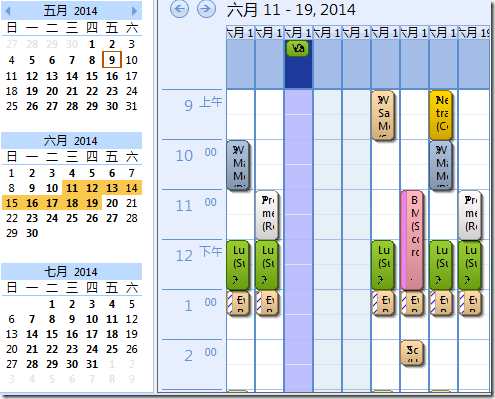
只用设置C1Calendar1.Schedule属性,就可以将C1Calendar和C1Schedule控件一起同步。同步后可以单选某个日期,或者选择一个区域,C1Schedule会根据选择,显示出时间范围内的所有约会,同时用户可以指定对于单个日期使用日视图,对于区域时期使用周或月视图。C1Calendar控件一次可以显示一个月或多个月,这取决于可用的空间大小。
设置C1Calendar的同步C1Schedule代码如下:
this.c1Calendar1.Schedule = this.c1Schedule1;
同步效果如下所示:
本文Demo的源代码如下:
关于葡萄城
葡萄城是专业的软件开发技术和低代码平台提供商,以“赋能开发者”为使命,致力于通过表格控件、低代码和BI等各类软件开发工具和服务,一站式满足开发者需求,帮助企业提升开发效率并创新开发模式。葡萄城开发技术始于1980年,40余年来始终聚焦软件开发技术,有深厚的技术积累和丰富的产品线。是业界能够同时赋能软件开发和低代码开发的企业。凭借过硬的产品能力、活跃的用户社区和丰富的伙伴生态,与超过3000家合作伙伴紧密合作,产品广泛应用于信息和软件服务、制造、交通运输、建筑、金融、能源、教育、公共管理等支柱产业。
葡萄城热门产品


