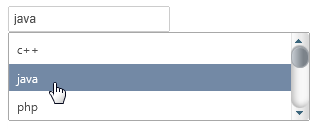
To change the appearance of the List, you can use both jQuery options and CSS styles. Begin by locating this portion of the script:
Drop down to view script
| Sample Script |
Copy Code
|
var list = $("#list");
var input = $('#testinput');
list.wijlist({
    selected: function (event, ui) {
        var selectedItem = ui.item;
        var str = selectedItem.label;
        input.val(str);
    }
});
|
To control the number of items displayed in the list widget, insert the following script:
Drop down and copy script
| Sample Script |
Copy Code
|
var list = $("#list");
            var input = $('#testinput');
            list.wijlist({
                selected: function (event, ui) {
                    var selectedItem = ui.item;
                    var str = selectedItem.label;
                    input.val(str);
                },
                autoSize: true,
                maxItemsCount: 3
            });
|

You can also use CSS styling to change the appearance of the widget:
Drop down to copy CSS styles
| Sample Styles |
Copy Code
|
<style type="text/css">
        #list
        {
            height: 200px;
            width: 300px;
            background: #3018BA;
            color: #FFFFFF;
            border-color: #000000;
            border-width: medium;
            font-family: Broadway;
            font-size: large;
        }

        #testinput
        {
            width: 150px;
            padding: 5px;
            background-color: #8718BA;
            color: #FFFFFF;
            border-color: #000000;
            border-width: medium;
            font-family: Broadway;
            font-size: large;
        }
</style>
|
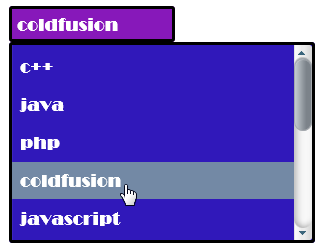
These selectors result in a list that resembles the following image:

See Also
Reference
Widgets


