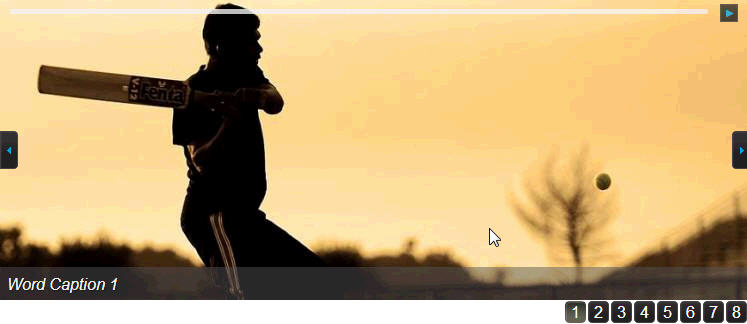
The following quick start is aimed at getting you quickly up and running with the wijcarousel widget. In the quick start you'll create a Web page, add the wijcarousel widget, and customize the appearance and behavior of the widget. Complete the following steps:
- In Notepad, create a new HTML page, add the following code and save the document with an .html extension.
Drop down and copy markup to paste in Notepad
| Paste in Notepad. |
Copy Code
|
<!DOCTYPE HTML>
<HTML>
    <head>
    </head>
    <body>
    </body>
</HTML>
|
- Add links to the dependencies to your HTML page within the <head> tags. Find the latest dependencies in the content delivery network (CDN) file at wijmo cdn.
Drop down and copy references to paste inside the head tags
| References |
Copy Code
|
<!--jQuery References-->
<script src="http://code.jquery.com/jquery-1.9.1.min.js" type="text/javascript"></script>
<script src="http://code.jquery.com/ui/1.10.1/jquery-ui.min.js" type="text/javascript"></script>

<!--Theme-->
<link href="http://cdn.wijmo.com/themes/aristo/jquery-wijmo.css" rel="stylesheet" type="text/css" />

<!--Wijmo Widgets CSS-->
<link href="http://cdn.wijmo.com/jquery.wijmo-pro.all.3.20132.15.min.css" rel="stylesheet" type="text/css" />

<!--Wijmo Widgets JavaScript-->
<script src="http://cdn.wijmo.com/jquery.wijmo-open.all.3.20132.15.min.js" type="text/javascript"></script>
<script src="http://cdn.wijmo.com/jquery.wijmo-pro.all.3.20132.15.min.js" type="text/javascript"></script> |
- Add the following markup within the <body> tags.
Drop down and copy markup to paste inside the body tags
| Paste inside the body tags. |
Copy Code
|
<div id="carousel">
  <ul>
    <li>
        <img src="http://lorempixum.com/750/300/sports/1" alt="Sports 1" />
        <span>Word Caption 1</span></li>
    <li>
        <img src="http://lorempixum.com/750/300/sports/2" alt="Sports 2" />
        <span>Word Caption 2</span></li>
    <li>
        <img src="http://lorempixum.com/750/300/sports/3" alt="Sports 3" />
        <span>Word Caption 3</span></li>
    <li>
        <img src="http://lorempixum.com/750/300/sports/4" alt="Sports 4" />
        <span>Word Caption 4</span></li>
    <li>
        <img src="http://lorempixum.com/750/300/sports/5" alt="Sports 5" />
        <span>Word Caption 5</span></li>
    <li>
        <img src="http://lorempixum.com/750/300/sports/6" alt="Sports 6" />
        <span>Word Caption 6</span></li>
    <li>
        <img src="http://lorempixum.com/750/300/sports/7" alt="Sports 7" />
        <span>Word Caption 7</span></li>
    <li>
        <img src="http://lorempixum.com/750/300/sports/8" alt="Sports 8" />
        <span>Word Caption 8</span></li>
  </ul>
</div>
|
The <div> HTML element is what creates the widget. The <div> element's id option is set to 'carousel', which you'll call in jQuery to initialize the widget. The markup above includes eight images, each with text captions, to the carousel.
- Add the following markup to set the size of the carousel widget. The script should appear under the references within the <head> tags:
Drop down and copy markup to paste inside the head tags
| Paste inside the head tags. |
Copy Code
|
<style type="text/css">
        #carousel
        {
            width: 750px;
            height: 300px;
        }
</style>
|
This markup sets the width and height of the widget.
- Add the following script below the references within the <head> tags to initialize the widget.
Drop down and copy markup to paste inside the head tags
| Paste inside the head tags. |
Copy Code
|
<script id="scriptInit" type="text/javascript">
        $(document).ready(function () {
            $("#carousel").wijcarousel({
                display: 1,
                showTimer: true,
                showPager: true,
                loop: true,
                showControlsOnHover: true
            });
        });
</script>
|
The script sets several options of the carousel widget. Only one image shows in the view area (display), the timer and pager elements are shown (showTimer and showPager), the carousel loops to the first image when the Next button is selected while on the last image (loop), and controls are shown when the mouse is over the widget (showControlsOnHover).
- Save and close your HTML file and open it in a browser. The wijcarouselwidget appears similar to the following:

See Also
Reference
Concepts

